This Article will help you understand the steps to Connect Wireless Mouse.
How does a wireless mouse get connected?
A wireless mouse keeps your desk neat and gives you more freedom of movement than a corded mouse. But how does a wireless mouse become connected? This blog will walk you through all the steps required to connect a wireless mouse to your laptop or PC. These instructions apply to any brand of wireless mouse.
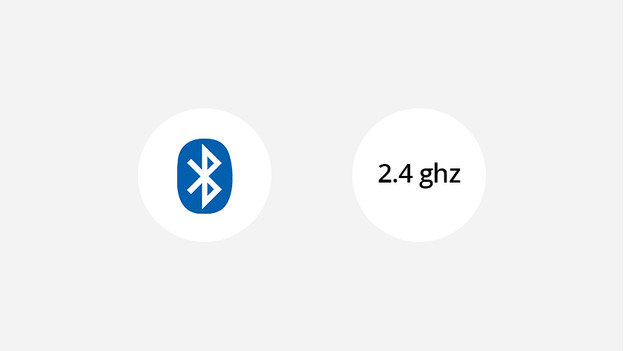
Connect the mouse via Bluetooth or a dongle.
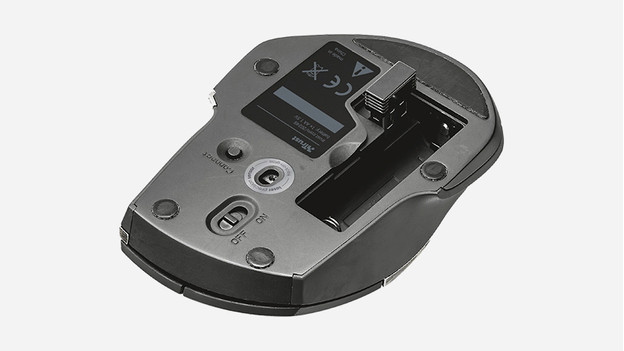
First, decide whether you want to connect the mouse by Bluetooth or use a dongle. That’s because if you connect the mouse via Bluetooth, you won’t require a dongle. Specific Bluetooth mice, such as the MX Master 2 for MacBook / iMac models, do not even include a dongle. Check the bottom of the mouse to make sure. That’s usually where you’ll locate a dongle. A dongle is required if the mouse is not connected via Bluetooth.
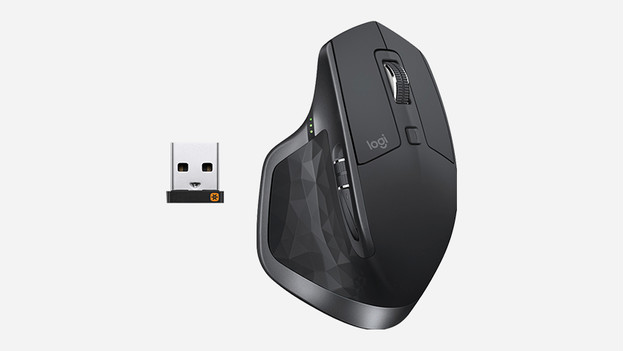
Using a dongle to install a mouse
If you have a mouse with a dongle, it is usually located on the bottom or inside of the mouse, near the batteries. This dongle uses radio waves to communicate with the mouse.
Insert the mouse dongle into the USB-A port of your laptop or PC. In most circumstances, the mouse works immediately.
If you need to install drivers, you’ll receive a notification in the bottom right corner of the screen. If the installation does not begin immediately, you can find the necessary drivers on the manufacturer’s website.
Installing a Bluetooth mouse
Installing up a Bluetooth mouse in Windows
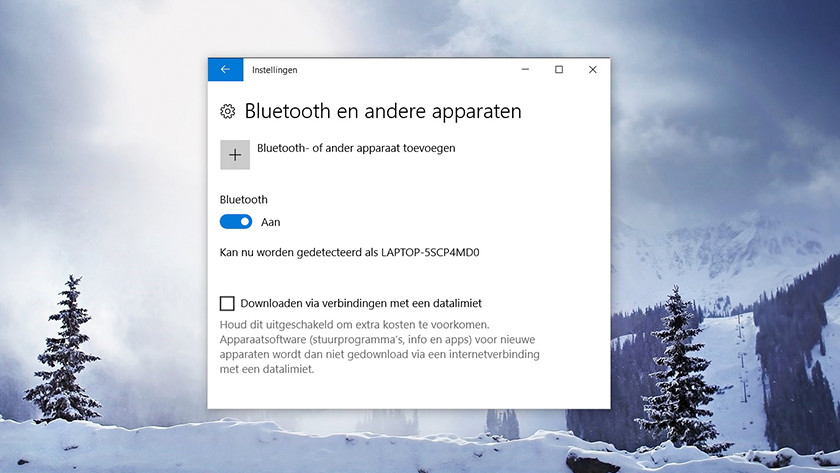
- Go to ‘Settings’ by clicking the Windows logo, the gear wheel, and finally ‘, Devices’.
- Turn on Bluetooth.
- Hold down the synchronisation button on the mouse’s bottom. It will now be visible in the list of devices.
- To connect the mouse to your computer, select it from the list.
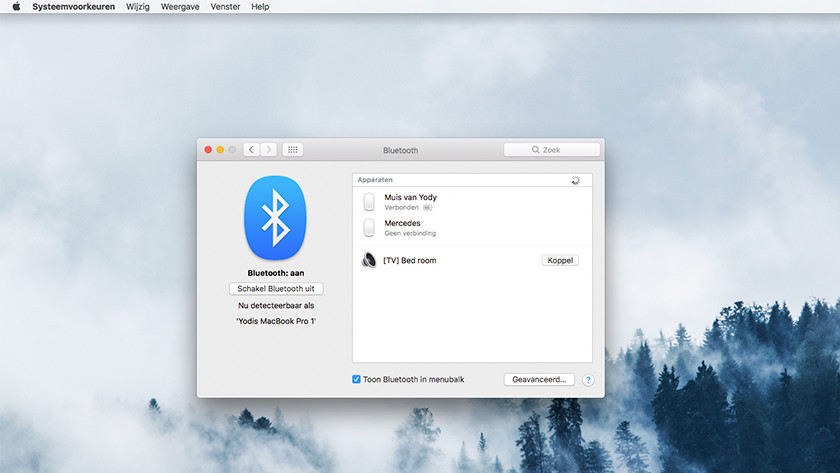
Setting up a Bluetooth mouse in macOS
- On the Apple menu, select ‘System Preferences’ and then ‘Devices’.
- Choose ‘Enable Bluetooth’ from the Bluetooth menu.
- Hold down the synchronisation button on the mouse’s bottom. It will now be visible in the list of devices.
- To connect the mouse to your computer, select it from the list.
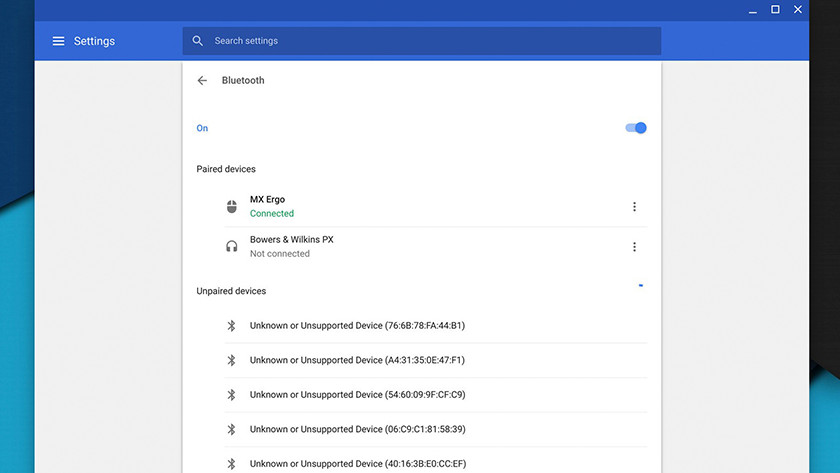
Installing up a Bluetooth mouse in Chrome OS
- Navigate to your Chromebook’s settings and select ‘Bluetooth’.
- Turn on Bluetooth.
- Hold down the synchronisation button on the mouse’s bottom. It will now be visible in the list of devices.
- To connect the mouse to your computer, select it from the list.
Setting up an Apple Magic Mouse 2
- Use the provided Lightning to USB-A connection to connect the Magic Mouse 2 to the MacBook.
- Drag up the on/off button on the mouse’s bottom. A green square will now appear.
- The mouse has been paired. You do not need to go into your MacBook’s Bluetooth settings.
Troubleshooting
Is the mouse still broken?
If you performed the steps correctly, your cursor might not be moving. Make sure the mouse is turned on by pressing the bottom button. Also, check to see if the mouse is charged, if there are batteries in the mouse, and if the plastic from behind the batteries has been removed. It may also be necessary to restart the computer or update the version of your operating system.